
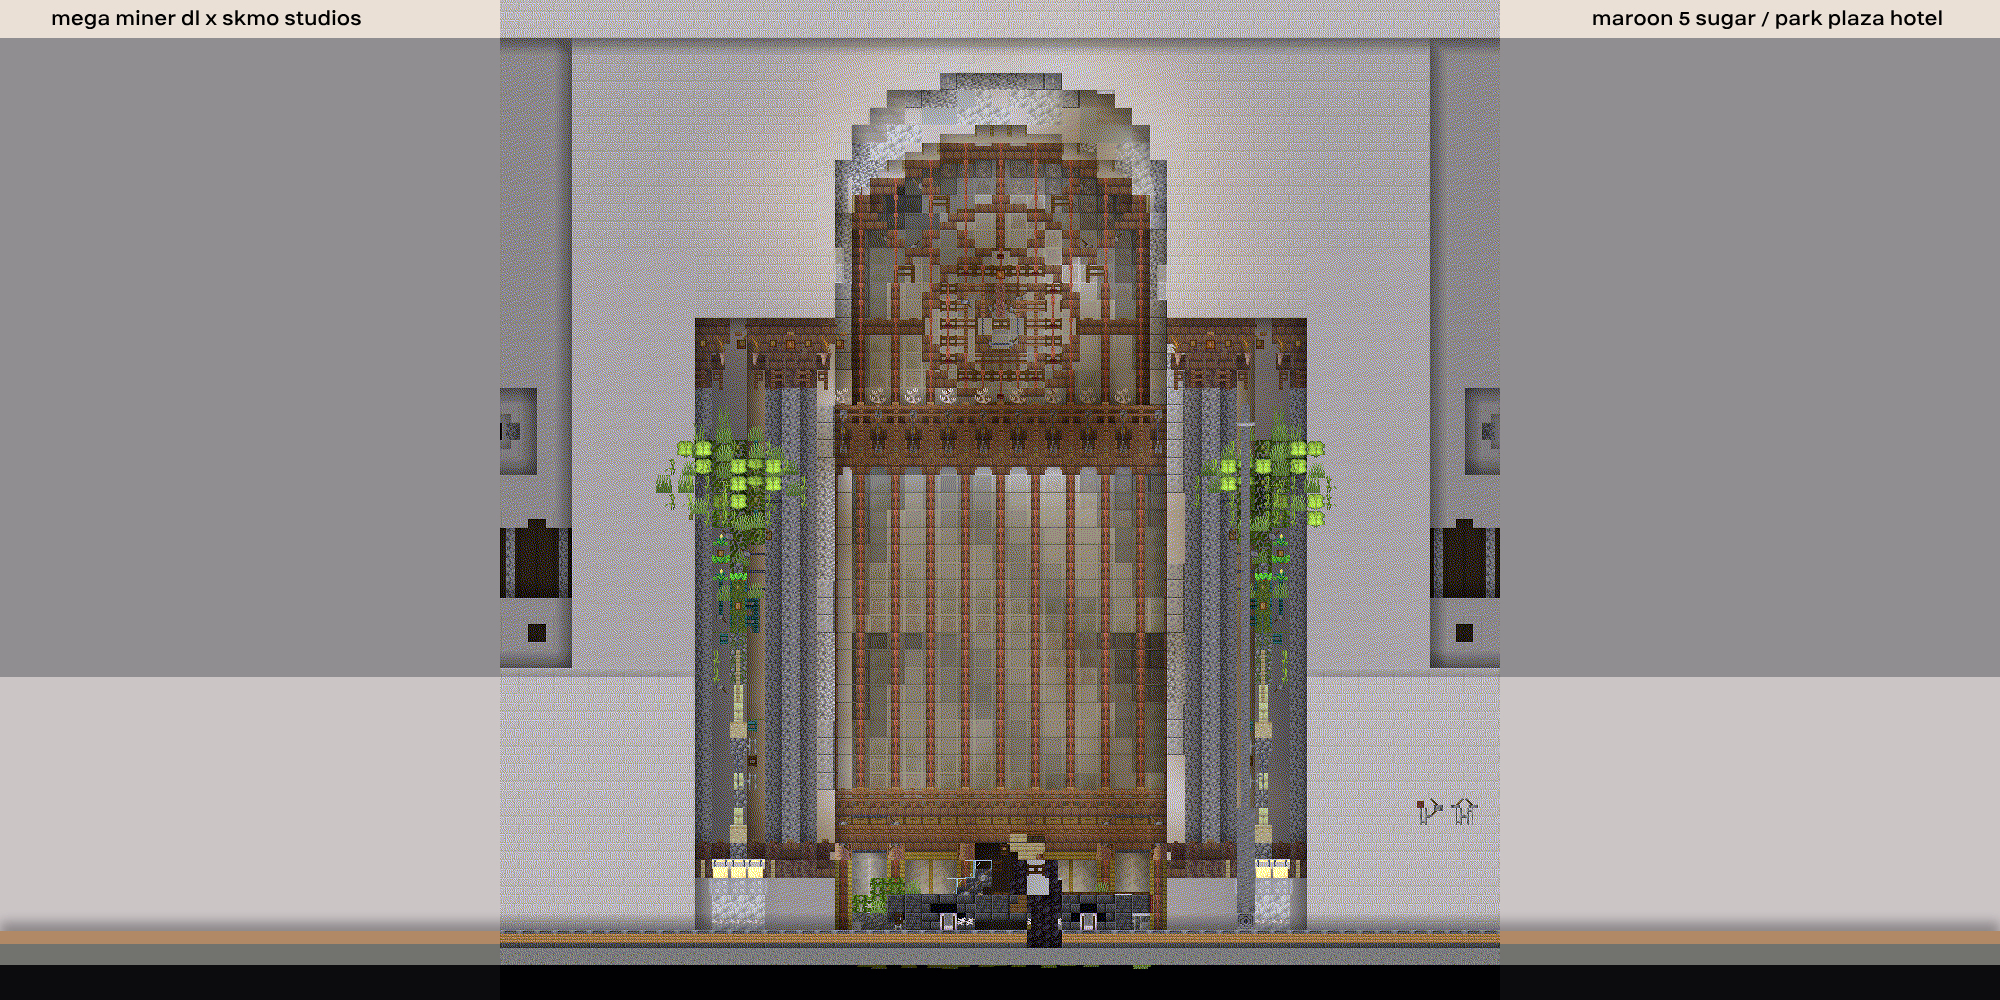
Super-Brief-Cheat-Sheet to Render a Minecraft build in Blender
[TEST POST PUBLISHED WITH OLD DATE FOR FEEDBACK]
Prerequisites & settings !!
- BLENDER BASICS: Go to the Render icon in sidebar and change the Render Engine to Cycles, and Device to GPU Compute if supported. To optimize your render time on lower end hardware, search on YouTube.
- OBJECT FILE: This guide assumes you already know how to get a Blender-importable .obj file! Use MCPrep, Jmc2Obj, or the newer MieX (note this one uses a slightly different workflow) for it.
- MCPREP: Before starting, look up and install the MCPrep Blender add-on! We will use it to fix certain broken material textures (that may appear depending on things like how you converted the world into an .obj) and enhance blocks like glass.
- RENDER SAMPLING: Immediately check the Render icon in the sidebar for Samples setting (Make sure you’re changing the “Render” settings, not the “Viewport” settings above them). Lower it to something like 100 per pixel.
- IMAGE DENOISING: In the Render settings you’ll also find a Denoise checkbox (again, for the Render not the Viewport). Enable it and set it to OpenImageDenoise and tweak settings or set it to “Use GPU” depending on your hardware.
- RENDER RESOLUTION: Go to Output icon in sidebar and set Resolution X & Y. E.g. 1920×1080 would be a HD image. The % below that should be 100, otherwise it will scale the resolution by that percent.
- OUTPUT FILE FORMAT: Scroll down on the Output settings to find File Format (Tiff recommended). You can also find Color management options below that if you desire things like higher contrast.
Blender basic guide V1.1
You should have an .obj of your build alongside a .mtl file and texture folder. Drag and drop the .obj into the Blender window. In the initial popup lower the scale to something like 0.5 for large builds.
If you have MCPrep, click N to hide/bring up a side menu that should have an MCPrep tab. There, select your exporter (MieX is not supported at this time but may not require this step). Then click Fix Materials. If desired, also Swap Texture Pack.
Click Z in viewport: Go to rendered mode to see a preview of the final render, and Z Solid mode to leave it
Middleclick to rotate camera, Shift+middle click to move camera,
Numpad0 to toggle viewing where the camera currently is
Ctrl+Alt+Numpad0 to move camera to where YOU are looking (when NOT in camera mode with Numpad0)
You can refine camera settings by selecting the camera, and going to the orange icon in sidebar (Location, rotation etc) or the green camera icon (FOV, depth of field etc)
To add light:
- SUN METHOD (Most Basic): You can Shift+A in the viewport and search sun and add it. Change it’s settings like strength and rotation in the orange icon and the green light icon in sidebar.
- SKY METHOD (Recommended): At the top, switch to the Shading tab. Make sure you’re in “World” shading not “Object” shading towards the top left. Shift+A in the shading viewport and add a “Sky Texture”. Set the dropdown to “single scattering”. Drag the yellow output dot anywhere, and search for a “Background” node to connect it to. Repeat to connect the Background to a “World Output”. Click the Output node to make sure it is preferred by Blender. Modify sun settings.
- HDRI METHOD: This requires a few extra steps and imports a static real environment image into Blender. Look up https://brandon3d.com/hdri/
To make a transparent background, go to Render settings in sidebar and check “Transparent” under “Film” settings.
To change single desired textures like making glowstone brighter, iron less metallic, or turning cobblestone pink: At the top, switch to the Shading tab. Make sure you’re in “Object” shading not “World” shading towards the top left. Search for your material in the top right object list and select it, and change its settings or add new nodes if you know what you’re doing.
RENDER: Make sure you didn’t skip the “Prerequisites & settings !!” section to prevent wasting time & resources! Now, go back to the Layout tab at the top if needed. Press F12 in the viewport to render your build.
BLENDER TEMPLATE: At the end, you can set your current Blender file as the template for the next time you open Blender. Just delete the build from your scene and go to File > Defaults > Save Startup File.
No comments yet.