CHUNKY Tutorial – Start to end text-based introduction to rendering
How you present your Minecraft build matters. Step up your professionalism using Chunky. A good render can improve any build – but don’t overdo it and create false expectations when the render is compared to the in-game Minecraft build or a screenshot.
STEP 1
Choosing world = “MAP” TAB AT TOP & RIGHT OPTIONS PANE
- “Browse for another world” or “Change world directory” if you have a whole folder
-> Your world needs to be a folder, not ZIP, RAR or World Edit schematic
-> For schematics, paste them into a flat or void world and import the world - Left click or shift+left drag to select chunks to render in red
- Right click and click “New scene from selection” to create render
IF YOU NEED A TEXTUREPACK
->Go into “options” and “edit resource packs” top right
-> “Add” your texture pack ZIP and “Apply” (for multiple packs, the one at the top will override others)
STEP 2
Render settings = “RENDER PREVIEW” TAB AT TOP & LEFT OPTIONS PANE
-> Your camera will appear at the center of your build on the highest block
-> Controls: WASDRD and right mouse drag (see HELP tab at left bottom)
-> You can also go back to “Map” view anytime and right click > “move camera here”
There are many options. Main ones to note in order:
- SCENE tab (important)
-> Leave your canvas size default small 400×400 for getting into camera position (no lag)!
-> Later once your camera is where you desire, make canvas bigger + correct camera angle
-> WARNING! Typical monitors are 1080×1920! After increasing canvas size, right click on canvas and change “canvas scale” to fit the whole canvas on your screen and prevent your render from being a tiny build in the corner of a blank page!
-> Under “Load entities” remove entities like player model at spawn (if any) as desired
-> Change Y min and max clip sliders to e.g. remove excess underground terrain in render. You must reload chunks at the top of the scene tab. - LIGHTING tab
-> If the sun lighting and shadows aren’t what you desire, play around with the options
-> The two ball things change the location and angle of the sun (drag the smaller circle)
-> Check “Enable emmiters” to enable glowstore etc. Reduce intensity to remove grain and prevent strange looking “light shadows”. - SKY & FOG tab
-> Change “Sky mode” and play with the options to get different sky or upload skymaps - WATER tab
-> If you have water in your map, these options change how it looks and feels - CAMERA tab (important)
-> Change “Projection mode” to change how the camera sees your world
-> Under “Pos & Orientation” you can input custom location (XYZ) & angle instead of WASDRD
-> Use “Field of View” to zoom quickly. Dragging allows 180 max but text field allows >180
-> “Depth of Field”, “Subject distance” & “Autofocus” allows tilt-shift or background blur - ENTITIES tab
-> If you have and didn’t remove entities like the player, you can set location, pose etc - MATERIALS tab (not needed)
-> Advanced properties of individual block textures if such detailed change is desired
-> Look here if e.g. a certain block is rendered black (I had that happen with trapdoors) - POST-PROCESSING tab (not needed)
-> Extra exposure correction - ADVANCED (not needed)
-> Extra options regarding the actual rendering process, output file etc
STEP 3
Making render = “START, PAUSE & RESET” BUTTONS BOTTOM LEFT
Once your camera, canvas size and options are set:
- “Target SPP” sets how many times Chunky should go over the render to make it better
-> Default 1000 SPP should be good, anything more won’t make much difference - Choose “Start” to render your image (there’s a yellow progress bar)
-> Choose “Pause” to temporary pause without changing render settings
-> “Reset” if you decide to change settings mid-render (and restart the render) - Once you render is done, click “Save current frame” at top to save as PNG
-> Other options at the top include saving the scene (saving Chunky project)
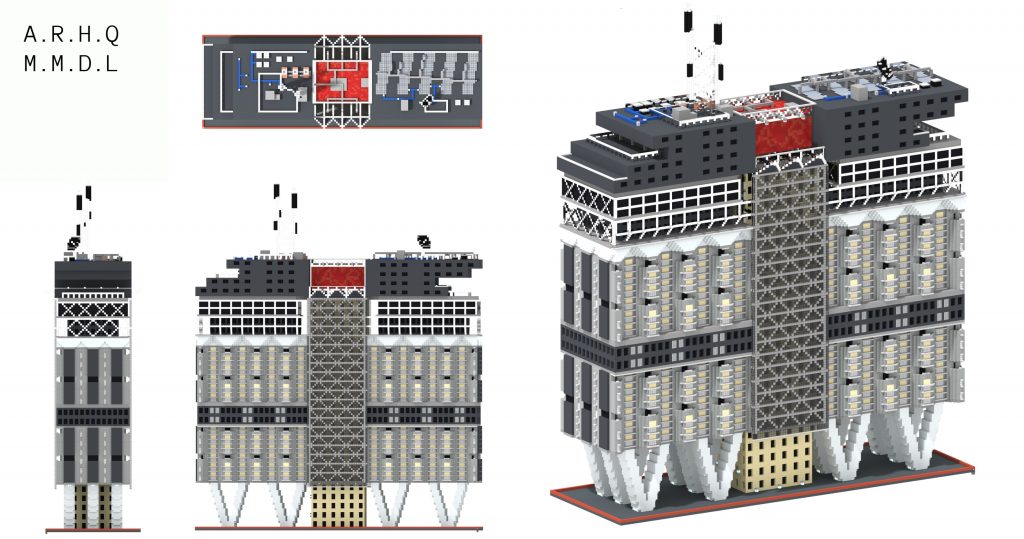
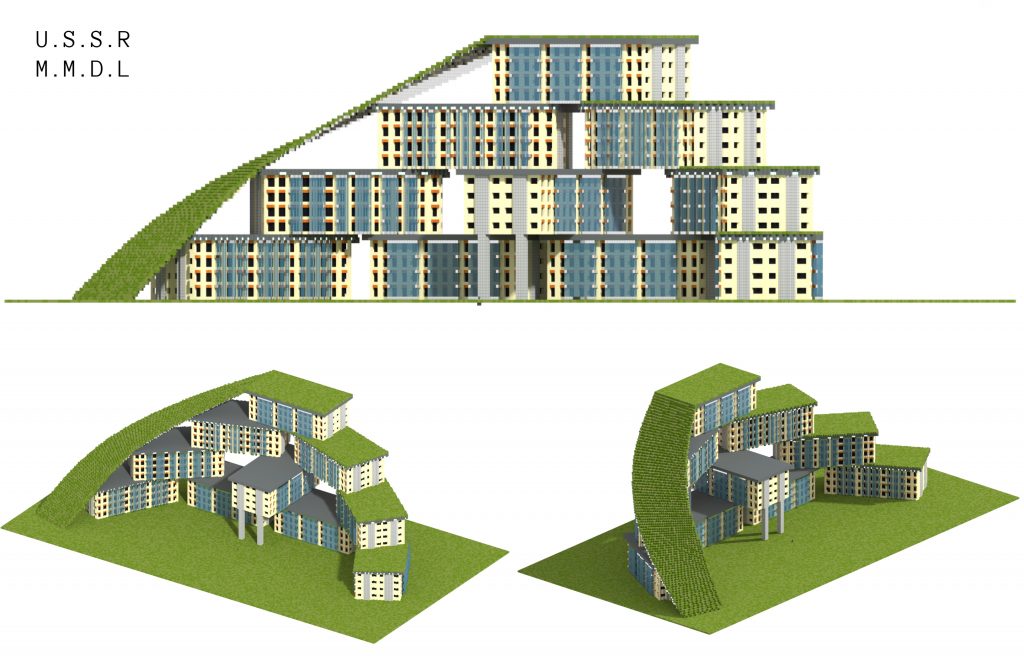
My first renders (click for HD)


Chunky “Introduction” series
- CHUNKY Tutorial – Start to end text-based introduction to rendering – PREMIUM MINECRAFT BLOG
- CHUNKY Tutorial – Introduction to the animated renders plugin – PREMIUM MINECRAFT BLOG

Updated with info on render preview resolution and textures