The Build Process Part 1 | Make better city buildings
Welcome. This is a chaotic collection of my thoughts on the build process of my realistic city buildings. In short, when making city buildings in Minecraft, you aim to replicate the complexity and specifics of real construction and the real life urban fabric. Whatever that means to you. You’re all good to make unique, impossible building designs, but would they pass as being possible to build and use in the real world?…
- Part 1: HERE
- Part 2: The Build Process Part 2 | Building realistic interiors – Premium Minecraft Blog
- Part 3: The Build Process Part 3 | City planning and districts – Premium Minecraft Blog
- Also see: Steps to plan and start a realistic Minecraft city (Tips, ideas, server setup?)
Purpose, site and idea
Consider the purpose of your building and its location within your city. Is it a high-rise business district? A mixed-use development on the outskirts? What should your building contain? In part 2 of this series we will cover interiors – and interiors, even empty ones, should help dictate the design of the building. In part 3 of this series we will cover the wider implications of designing and laying our your city.
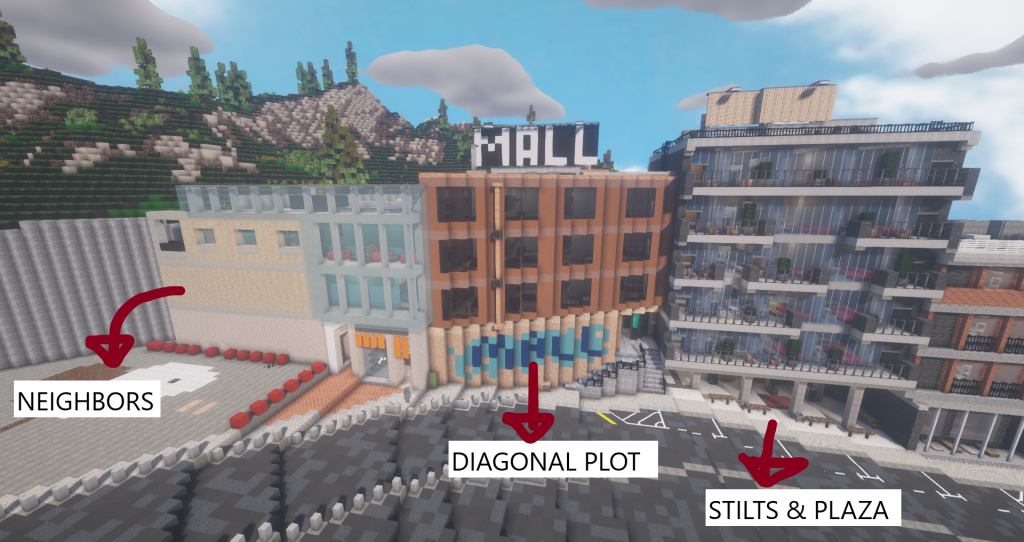
The site of your building is the plot of land it’s on. What shape is it? Do the neighboring buildings touch your building? Are there roads at the front, back, sides? Do you need a car park, plaza or park?
Talking of roads, remember that real buildings are rotated in every direction – truly immersive Minecraft cities have some diagonal roads and buildings, as we’ll elaborate on in part 3 of this guide.
You should have a general idea of what you want to build. Get a block palette with the main colors and materials you think you’ll use. Feel free to take design ideas from inspiration pictures or to sketch out your idea. Also, if your aim is to make true realism, you’ll need to consider the implications of real construction and to balance creativity and reality. Will the cantilever building have structural integrity? Is the roof thick enough to support a green roof? On the other hand, many real buildings look boring and repetitive (like cost-efficient tower blocks or new copy-paste developments). Good for World Edit users…

Top, middle and bottom
In general, every building that isn’t a tiny house can be divided into a top, middle and bottom. These parts of your building should be distinct – they can be used to dictate depth and setbacks in your facade. Buildings generally get thinner at the top. You can also use a cantilever design to make certain parts of your building overhang the lower parts, like the middle part sticking out further than the lobby.
BOTTOM
This is the part of your building that touches the street. What’s there depends on the purpose of your building – here are some ideas:
- Shops on the bottom, and a private staircase on the side leading up to apartments above.
- Hotel lobby (reception and restaurants) on the bottom, and hotel rooms above.
- A part of your building is on stilts, with a car park, plaza or park below the building.
- No distinct bottom – just private apartments or offices right on the ground floor.
- Remember, a car park can be buried underground BELOW everything else.
MIDDLE
The main part of your building. If your building is an apartment building, you will have apartments here. If it’s an office, you’ll have offices here. Not much to say here – but layout matters! We will cover this in part 2. Also, don’t forget the humble balcony – it comes in multiple designs and make things interesting.
TOP
The penthouse level. Most buildings will have a distinct form on the top. Since we’re talking about city buildings, the roof will generally be flat. Here are some ideas to give it purpose:
- One or two penthouses – additional luxury apartments on top of the building.
- Attic space – extra storage rooms for the whole building, can be relatively empty.
- Terrace space – seating and greenery (with protective fences from falling off…)
- Heating, Ventilation & Air Conditioning equipment! – see the next section:

Infrastructure and HVAC
Every bigger buildings has complex Heating, Ventilation & Air Con systems that… need to be somewhere. For most buildings this means at the top of the building – use iron blocks, stairs, slabs, iron bars, buttons and trapdoors to create various HVAC-like equipment. Fence it off. Use a circle of 4 rails to make vents. Add daylight detectors for solar panels (clicking them turns them blue).
You also need an antenna or two – every tall building needs a light on top for airspace safety, and ideally you want people to have TV radio access. Use walls, fences, iron bars and end rods for all this. You can also make a helipad on a major building – in all cases don’t forget to have building rooftop access!
Air Conditioning units can also appear on the walls of the building. And if you wish to make a proper skyscraper, these typically have mechanical floors at intervals because of the height, which may stand out in the facade. Look at 432 Park Ave skyscraper as an example.

Context and perspective
Your building needs to work with its neighbors. For example, if you have a supertall building, you probably aren’t building a 2 floor townhouse next door. You could create setbacks that make a row of buildings “flow” in a smoother curve from taller to lower.
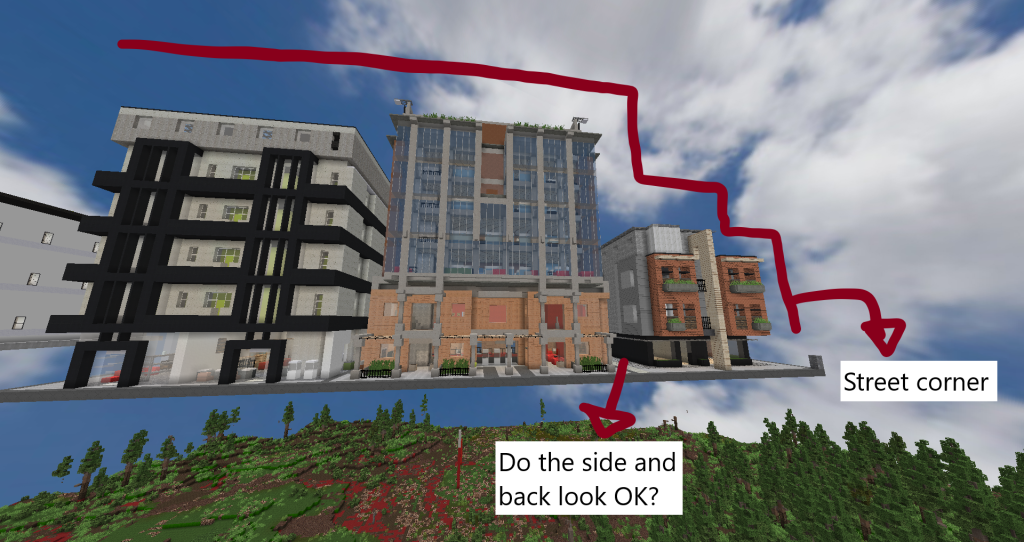
When you’re building, look at your building from ALL angles! Go up close, and get far away. Look at the left, right, front and back. Look at it from above and look at it from street view. Does it look good? You could treat each of the building’s sides like “their own front façade”, unless a side of the building faces a neighboring building’s wall where you want privacy and where a fancy expensive façade is useless.

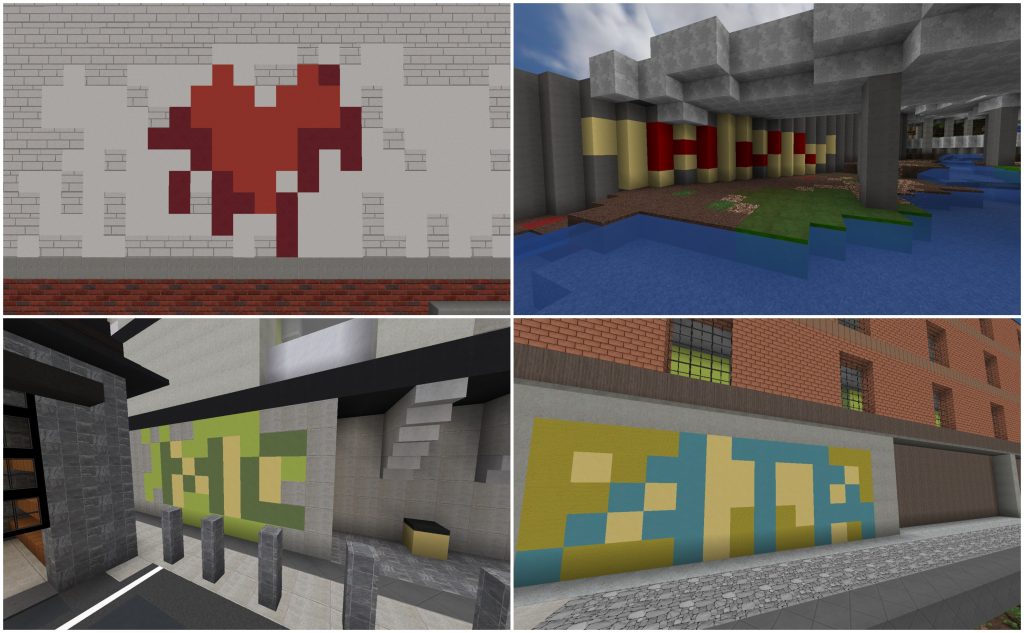
If you find one side of your building is too empty, here are some ideas for fillers: Add a gradient or block mix to make the facade look aged; Add a billboard or text logo; Add a window or two; Add fire exits. Or leave it as it is – real buildings can get bland and repetitive. More on detailing in part 3 of this guide.
BUILD THE CITY – see part 3 of this guide for an overview of planning your city and buildings. And above all, just go ahead and build, however it turns out, as over thinking the specifics =/= building!

Links & Inspo
- Building reality: A look through the eyes of Minecraft architects – Premium Minecraft Blog
- Ryer’s Architecture School Blog – 01 | 100+1 (planetminecraft.com)
- Ryer’s Architecture School Blog – 02 | Line (planetminecraft.com)
- Ryer’s Architecture School Blog – 03 | Plane (planetminecraft.com)
- Part 1: HERE
- Part 2: The Build Process Part 2 | Building realistic interiors – Premium Minecraft Blog
- Part 3: The Build Process Part 3 | City planning and districts – Premium Minecraft Blog
- Also see: Steps to plan and start a realistic Minecraft city (Tips, ideas, server setup?)

No comments yet.