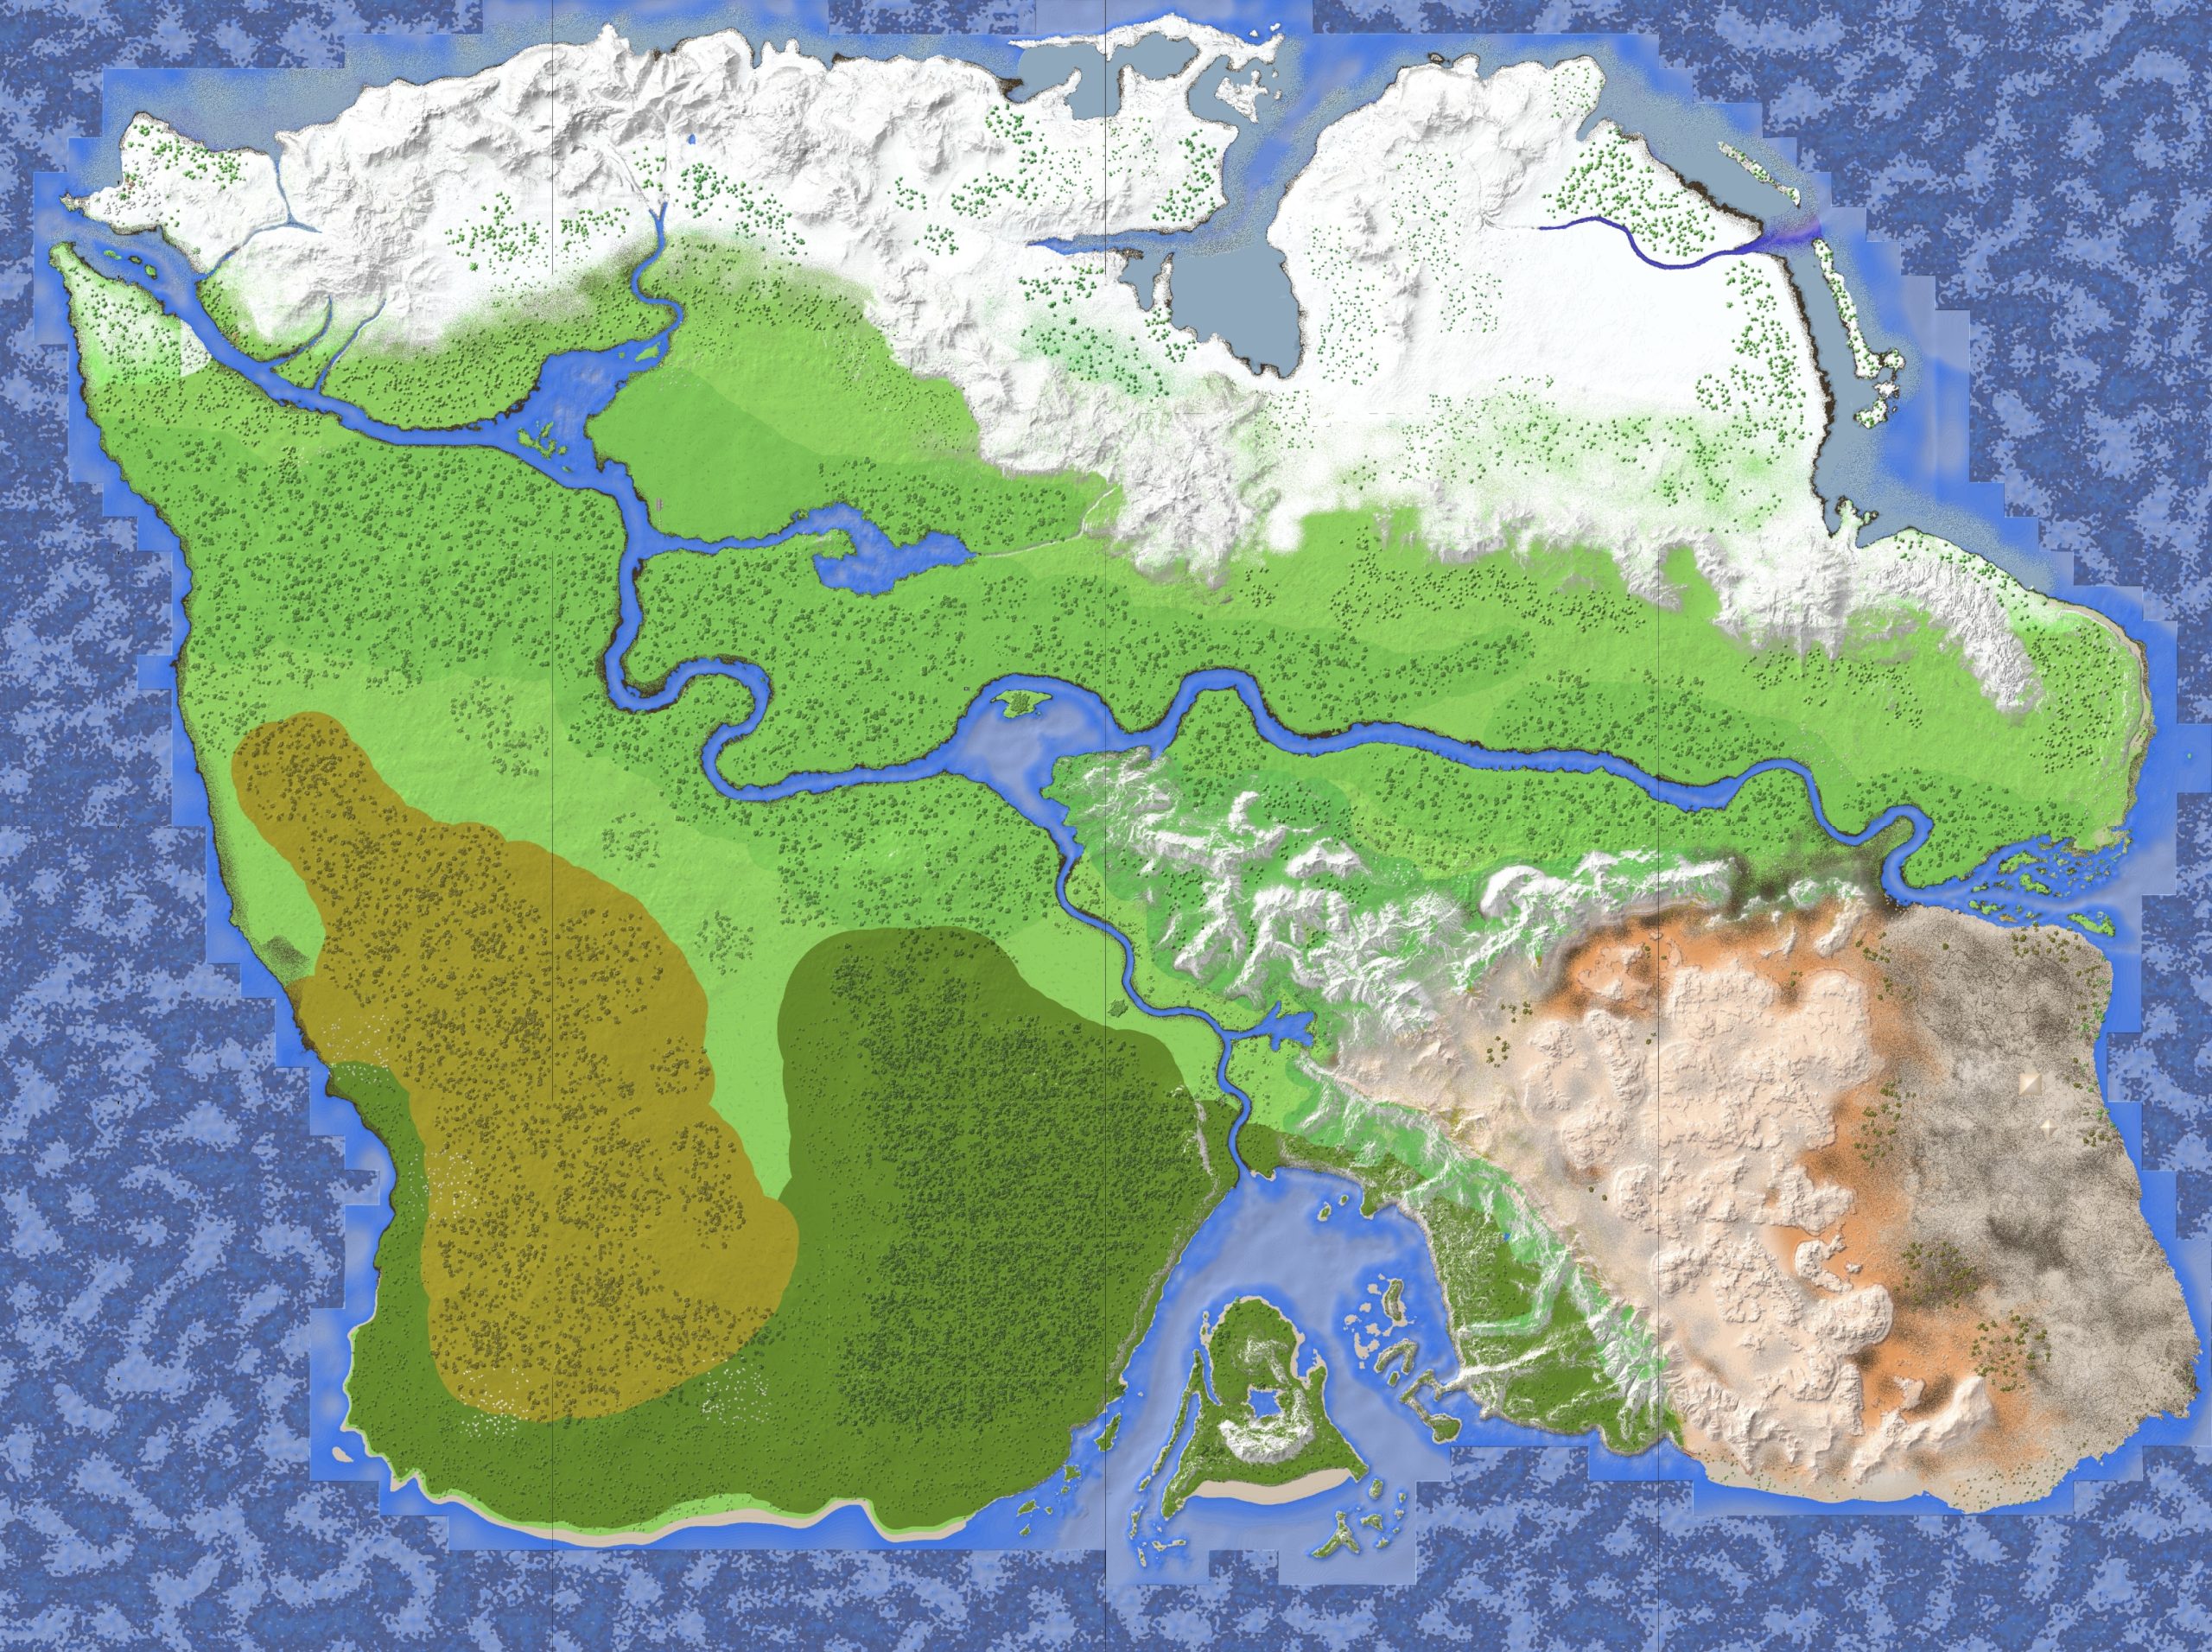
How to make a HD/full map of your world (Singleplayer)
Saving a map of your world can be incredibly useful for seeing what’s where, planning our your world, or using the map for a terrain showcase. Dynamic Map can be used to stitch together a map of your server, but on single-player this is not possible. So here is a simple alternative method. It also works with custom texture packs.
In this example I made a map of this great world: Kalak Map Minecraft Map (planetminecraft.com)
WHAT YOU NEED
You will need Chunky, a beginner rendering program. We won’t actually be rendering anything – we will use the top-down world preview feature. Get it here: Home – Chunky Manual (chunky-dev.github.io)
- This method also works in MCA Selector
- This method also works in Mineways
- Does not work with WorldPainter if you have man-made structures/blocks!
- Tip: You can also use MCA Selector (Or, with a smaller but detailed zoom, Mineays) to zoom out and take a NON-HD screenshot of the entire map – perfect for a quick overview of the world.
HOW TO DO IT
This is simpler than it seems. I wanted to explain everything clearly the first time.
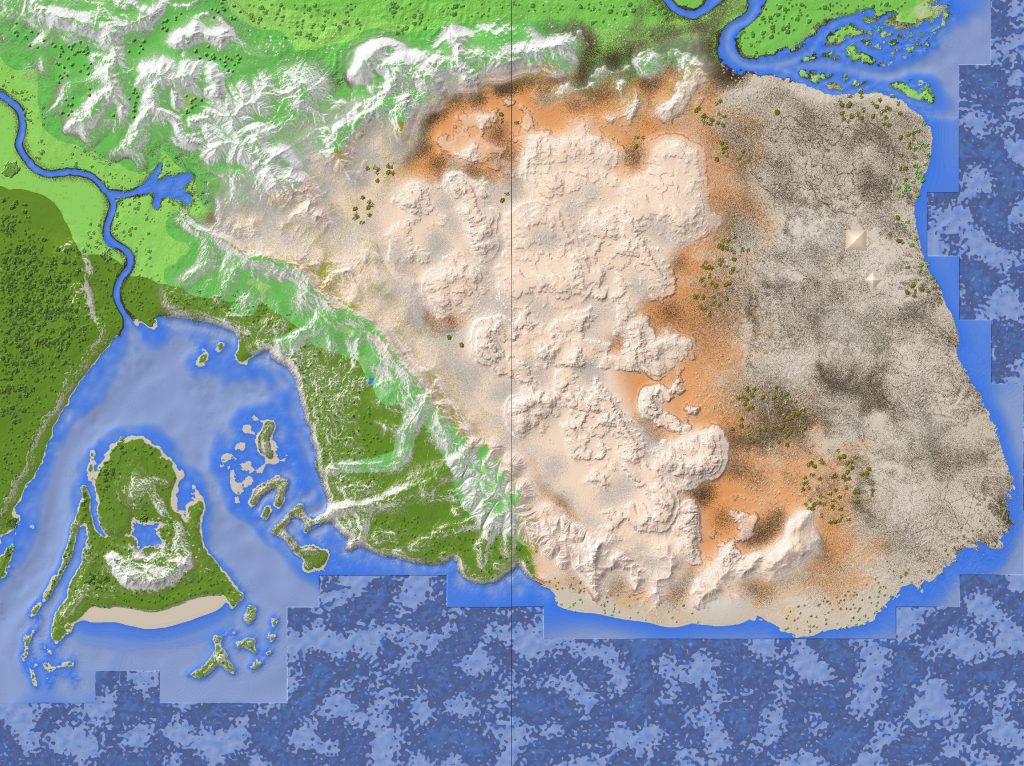
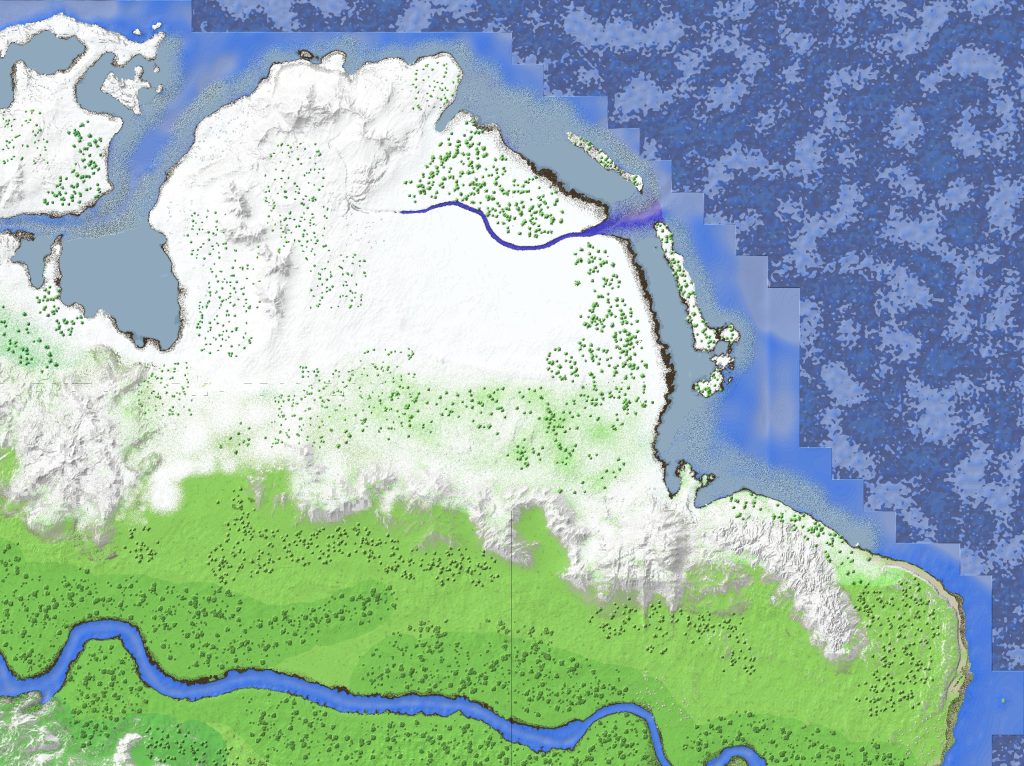
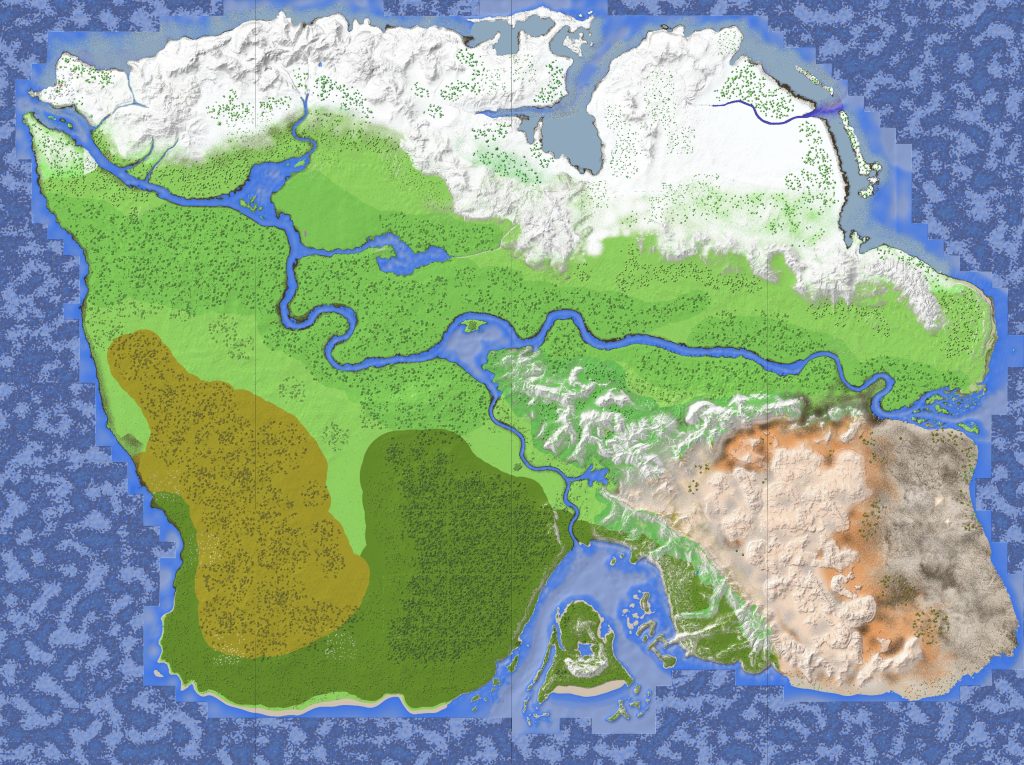
STEP 1. Open your world and load any texture packs.
- Open Chunky and ignore the start-up screen by clicking “Launch”
- On the right, click “Change world”. In the pop-up you’ll be shown your single-player saves. If your world is in a different location, click “Browse for another world” and find and open it.
- If you need a custom texture pack for your world: On the top right click the “Options” tab and “Edit resource packs”. In the pop-up click “Add” and find your texture pack ZIP and load it.
STEP 2. Align the view to stitch together a clean final map.

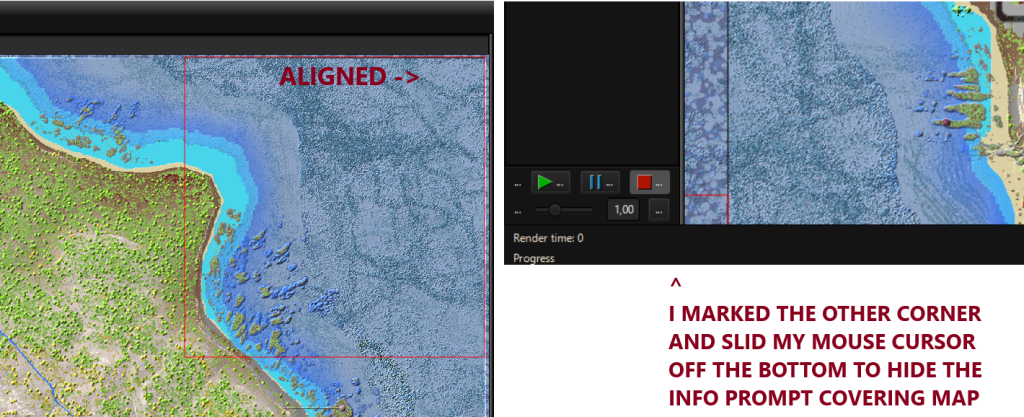
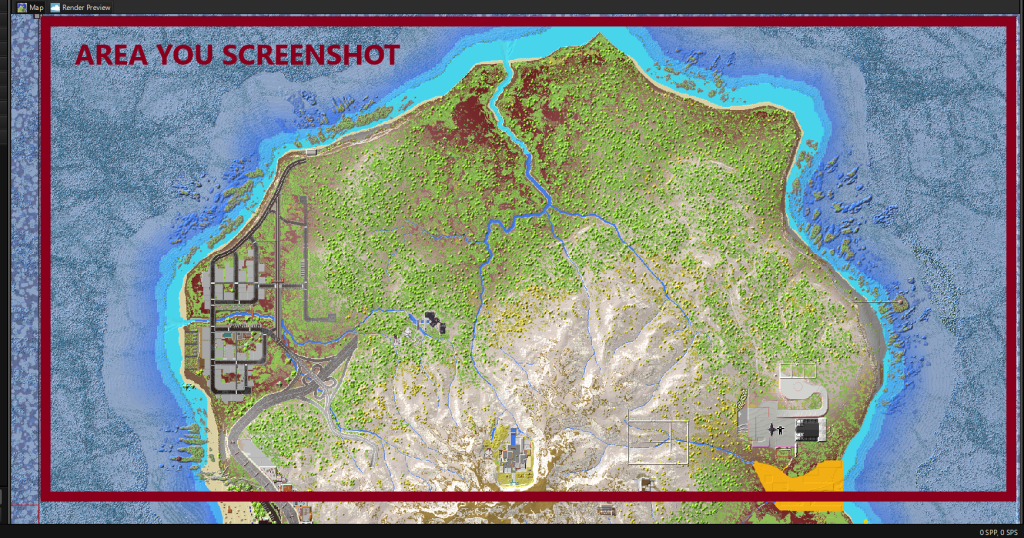
- Resize the right and left panes of Chunky by grabbing the edges and dragging them inwards as much as you can. This will make more of your world visible on screen.
- Zoom out the world to it’s maximum – if the world turns pixelated you zoomed out too much.
- Hovering over your world shows red squares and dragging lets you move. Go to the red square that covers the topmost right corner of where you want your map to start. Align the top right corner of this square with the top right corner of your Chunky screen.
- Don’t move the world. Move your mouse to the bottom left corner to highlight the cut off square in that corner. Move your mouse off the bottom of the map in order to keep the red cut off square highlighted, but remove the text prompt covering the map in that corner.
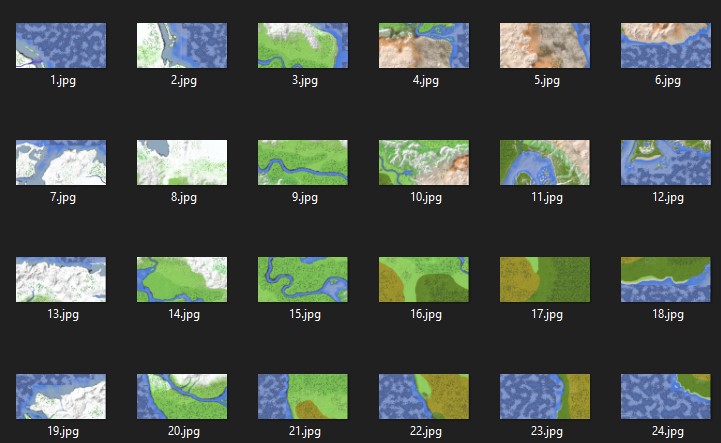
You have just marked 2 corners of that part of your world. Take a screenshot of this area. Now repeat this process as many times as needed, working your way down and left across your world to get screenshots of every part of your world that you want. Essentially, imagine your world has an invisible grid that we will stitch together. I do this with the Windows Snipping Tool and name my files with numbers (e.g. 1 to 24).
STEP 3. Make full final map.
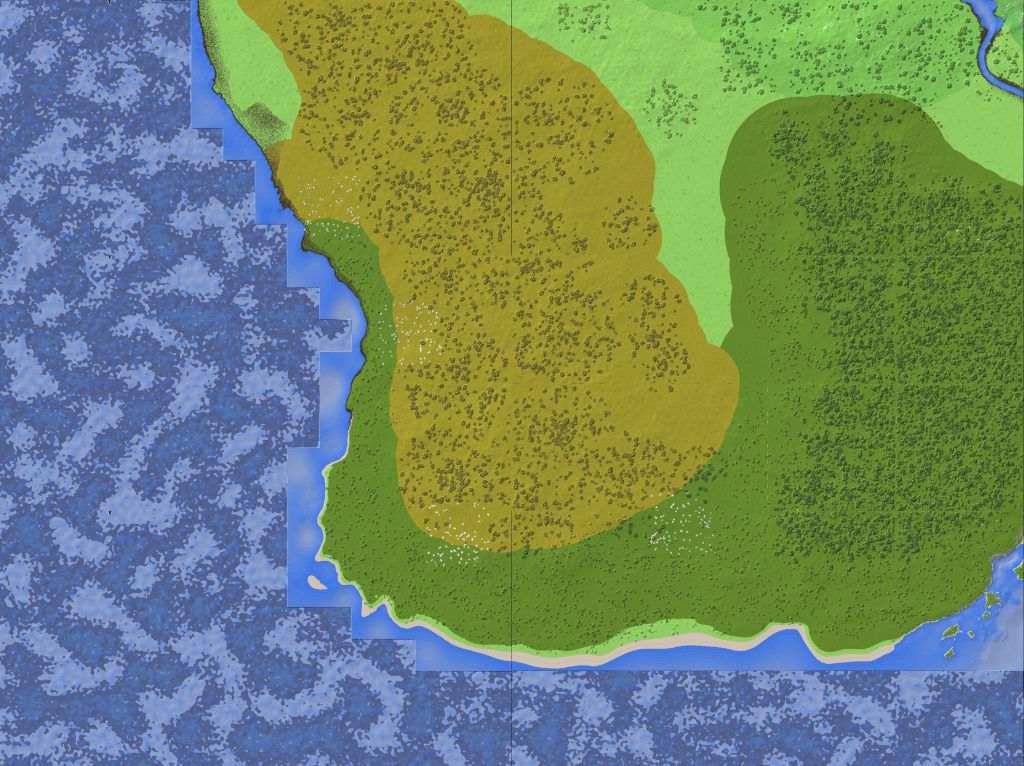
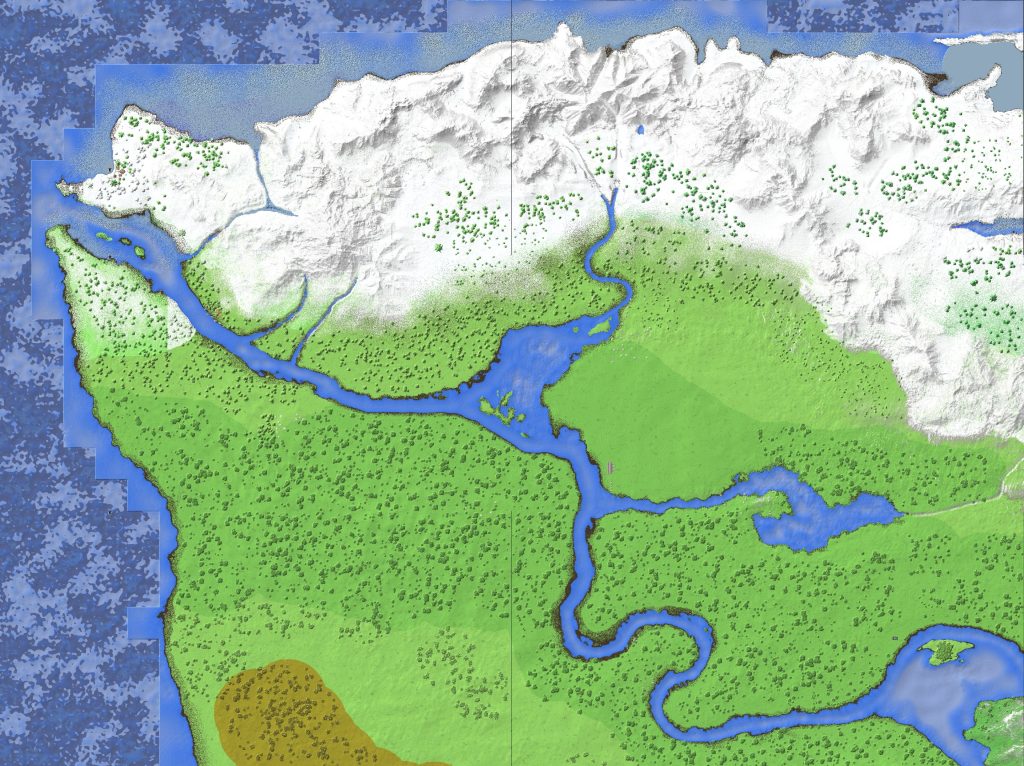
I use the website “BeFunky.com/Create/Collage” since it provides a resize-able grid with HD image download. First set your grid border size to none to get a seamless map. Next, you will notice BeFunky free limits you to a 3×3 grid. Each workaround to get what we need:
- You can right click to remove cells
- You can COMBINE COLLAGES
- Using the above 2 methods, you could for example combine 16 images by making and downloading four separate 2×2 grids and combining them in another 2×2 grid made up of the other grids.
BeFunky limits you to around 3k pixels image resolution downloads. The more grids you combine, the lower quality the image will be. If you want to truly keep your images at full HD resolution (which would be a massive size and probably unnecessary), you can instead manually combine the images in an editing software. Be aware that for example, Microsoft Paint limits the max image resolution you can have.
I hope this helps, comment any of your thoughts.

No comments yet.